Choice of basic soil media for starting Carnivorous Plant seeds
Plant group :
Drosera, Dionaea Muscipula, Byblis, Nepenthes, Heliamphora, Pinguicula, Darlingtionia, Sarrracenia, Cephalotus.
Sterile Peat moss (Composed sphagnum moss)
Sterile Dried Sphagnum moss (LFS)
Note: I do not recommend mixing soil with perlite for germinating seeds. Perlite helps the soil to be loose, it does not hold much water/moist.
Places that sell them in Singapore are:
- Big outlet Supermarkets "Horti brand"
- Far east flora
- World farm
- Candy Flora
Preferred pots
Drained pots : Material can be plastic/glazed/styrofoam with at least 6 cm dimeter and 6 to 10cm height to hold moist.
Rinsing soil media
Peat:
I personally prefer to keep the peat cleaner by rinsing them at least 5 times or until the water is clearer (impossible to be 100% clear) to my liking. For the process, I pour peat into very fine laundry bags and zip up. I place the bag in a pail and fill it with water. I will massage the bag and pour away the dark water. Repeating the process until the water is clear to my liking (at least 5 times). I prefer to kill everything in the soil, so I will pour boiling water for the final process into the pail and let the peat soak for 10 minutes before cooling it down with tap water. This keep the soil sterile and slow down the process of algae. I will twist dry the bag and pour out the clean peat into big tub or container for storage.
Dried sphagnum:
Similar to the process with peat, or you can also put it into the pot straight from the pack and rinse over with running tap water. Repeat a few times before 1 last rinse with boiling water to kill everything in it. I can use sphagnum immediately this way since it doesn't fall apart like peat.
Preparing the pot
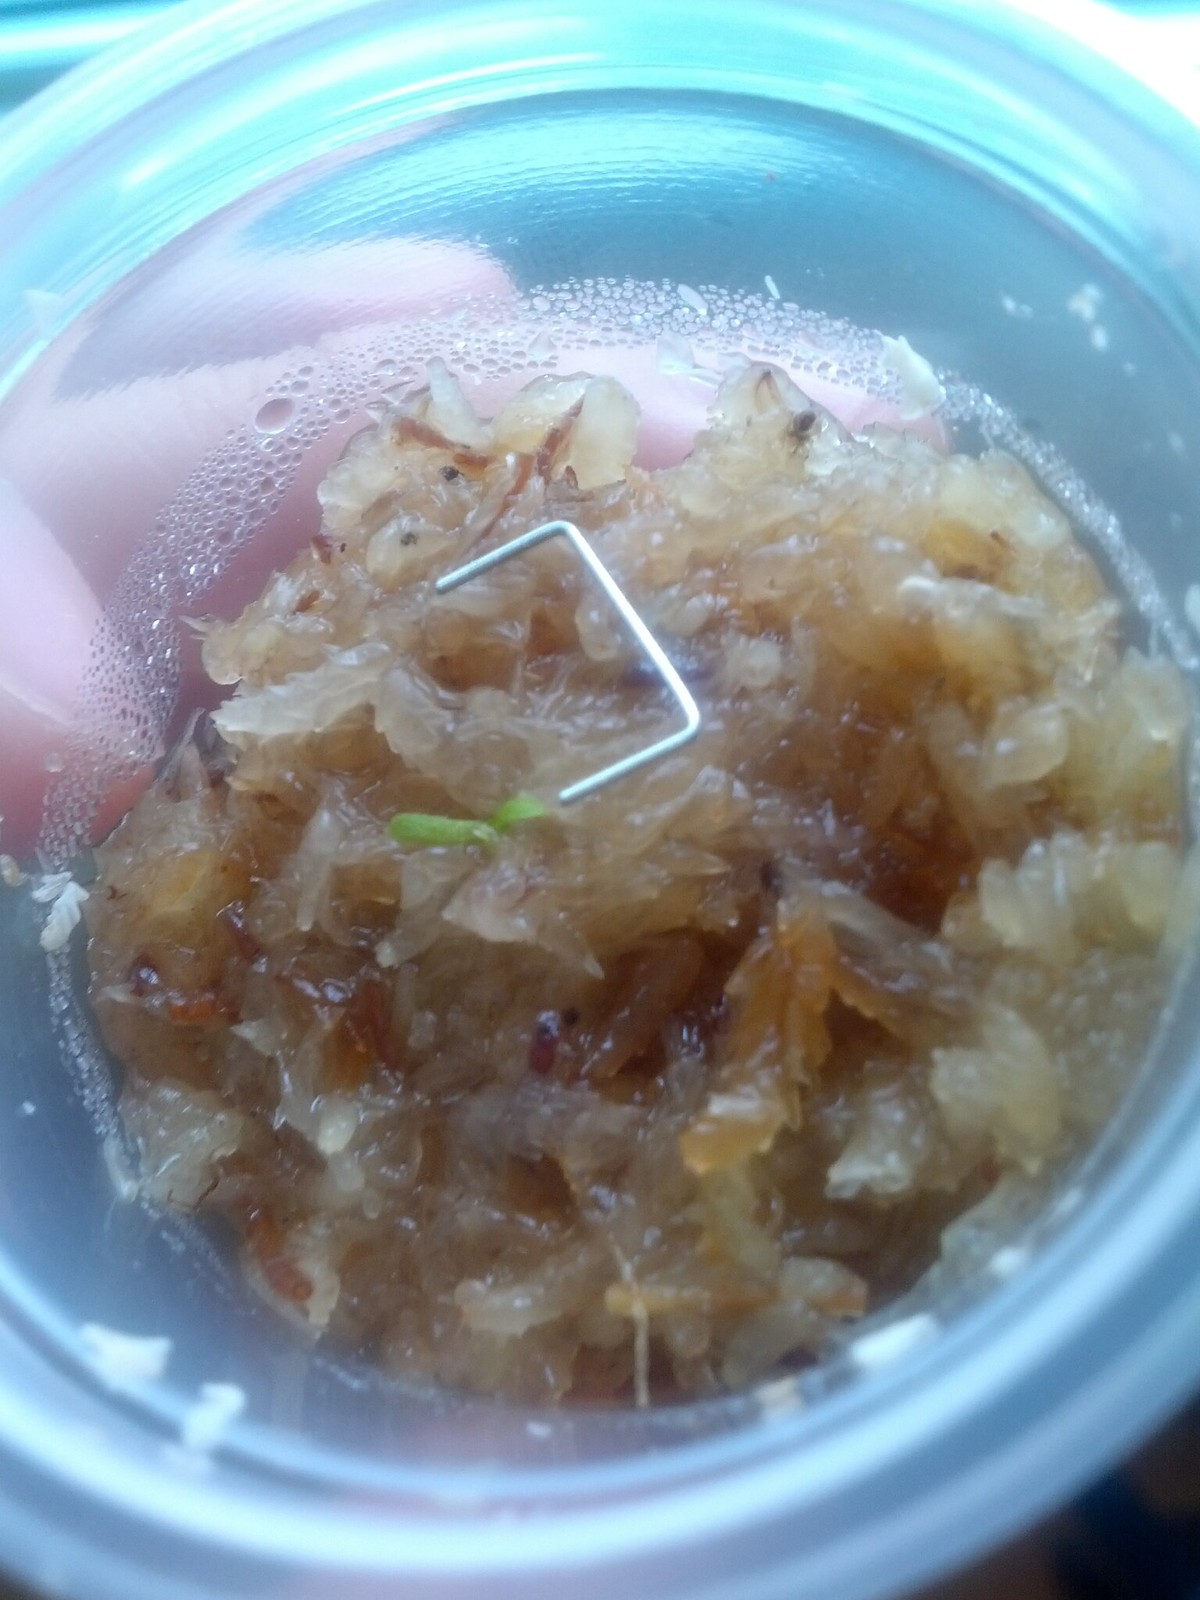
I always cover the pot holes with some fibre cloth (Magic clean wipes) before filling the pot with peat or sphagnum. The cloth will hold the soil in place so mostly only water will pass through the hole. Alternatively is to use some sphagnum before putting peat in, which will somehow still hold the peat in place. Then I add my choice of soil media into the pot up to 1/4 or 1/2 pot height reminding. The remainding pot walls act as a wind barrier keeping some humidity in place. I like to use styrofoam pot because not only it insulate against heat, but white also reflect light into the seed or plant.
Sowing seeds
Before sowing the seeds on the soil, I pack down the soil by lifting the pot slightly and knocking flat down on the table or ground so the soil will compact down with some space for air. I do not press them down because the soil (especially peat) will be too compact, it'll hold too much water with no space for air. No issue with sphagnum as they have air pockets. So, compacting down the soil a little also helps to prevent seeds falling into the soil gaps and hold moist. For sphagnum, it is good to rub or tear the dried sphagnum leaves for the top 1 cm of the soil so it is more compact to support the seeds.
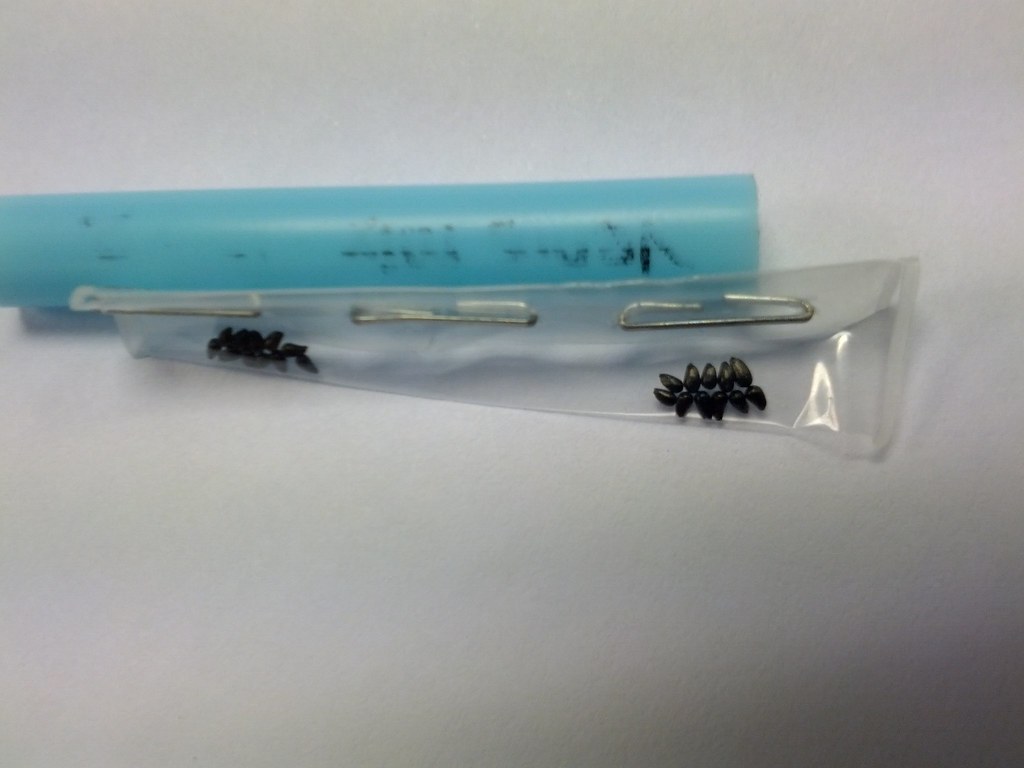
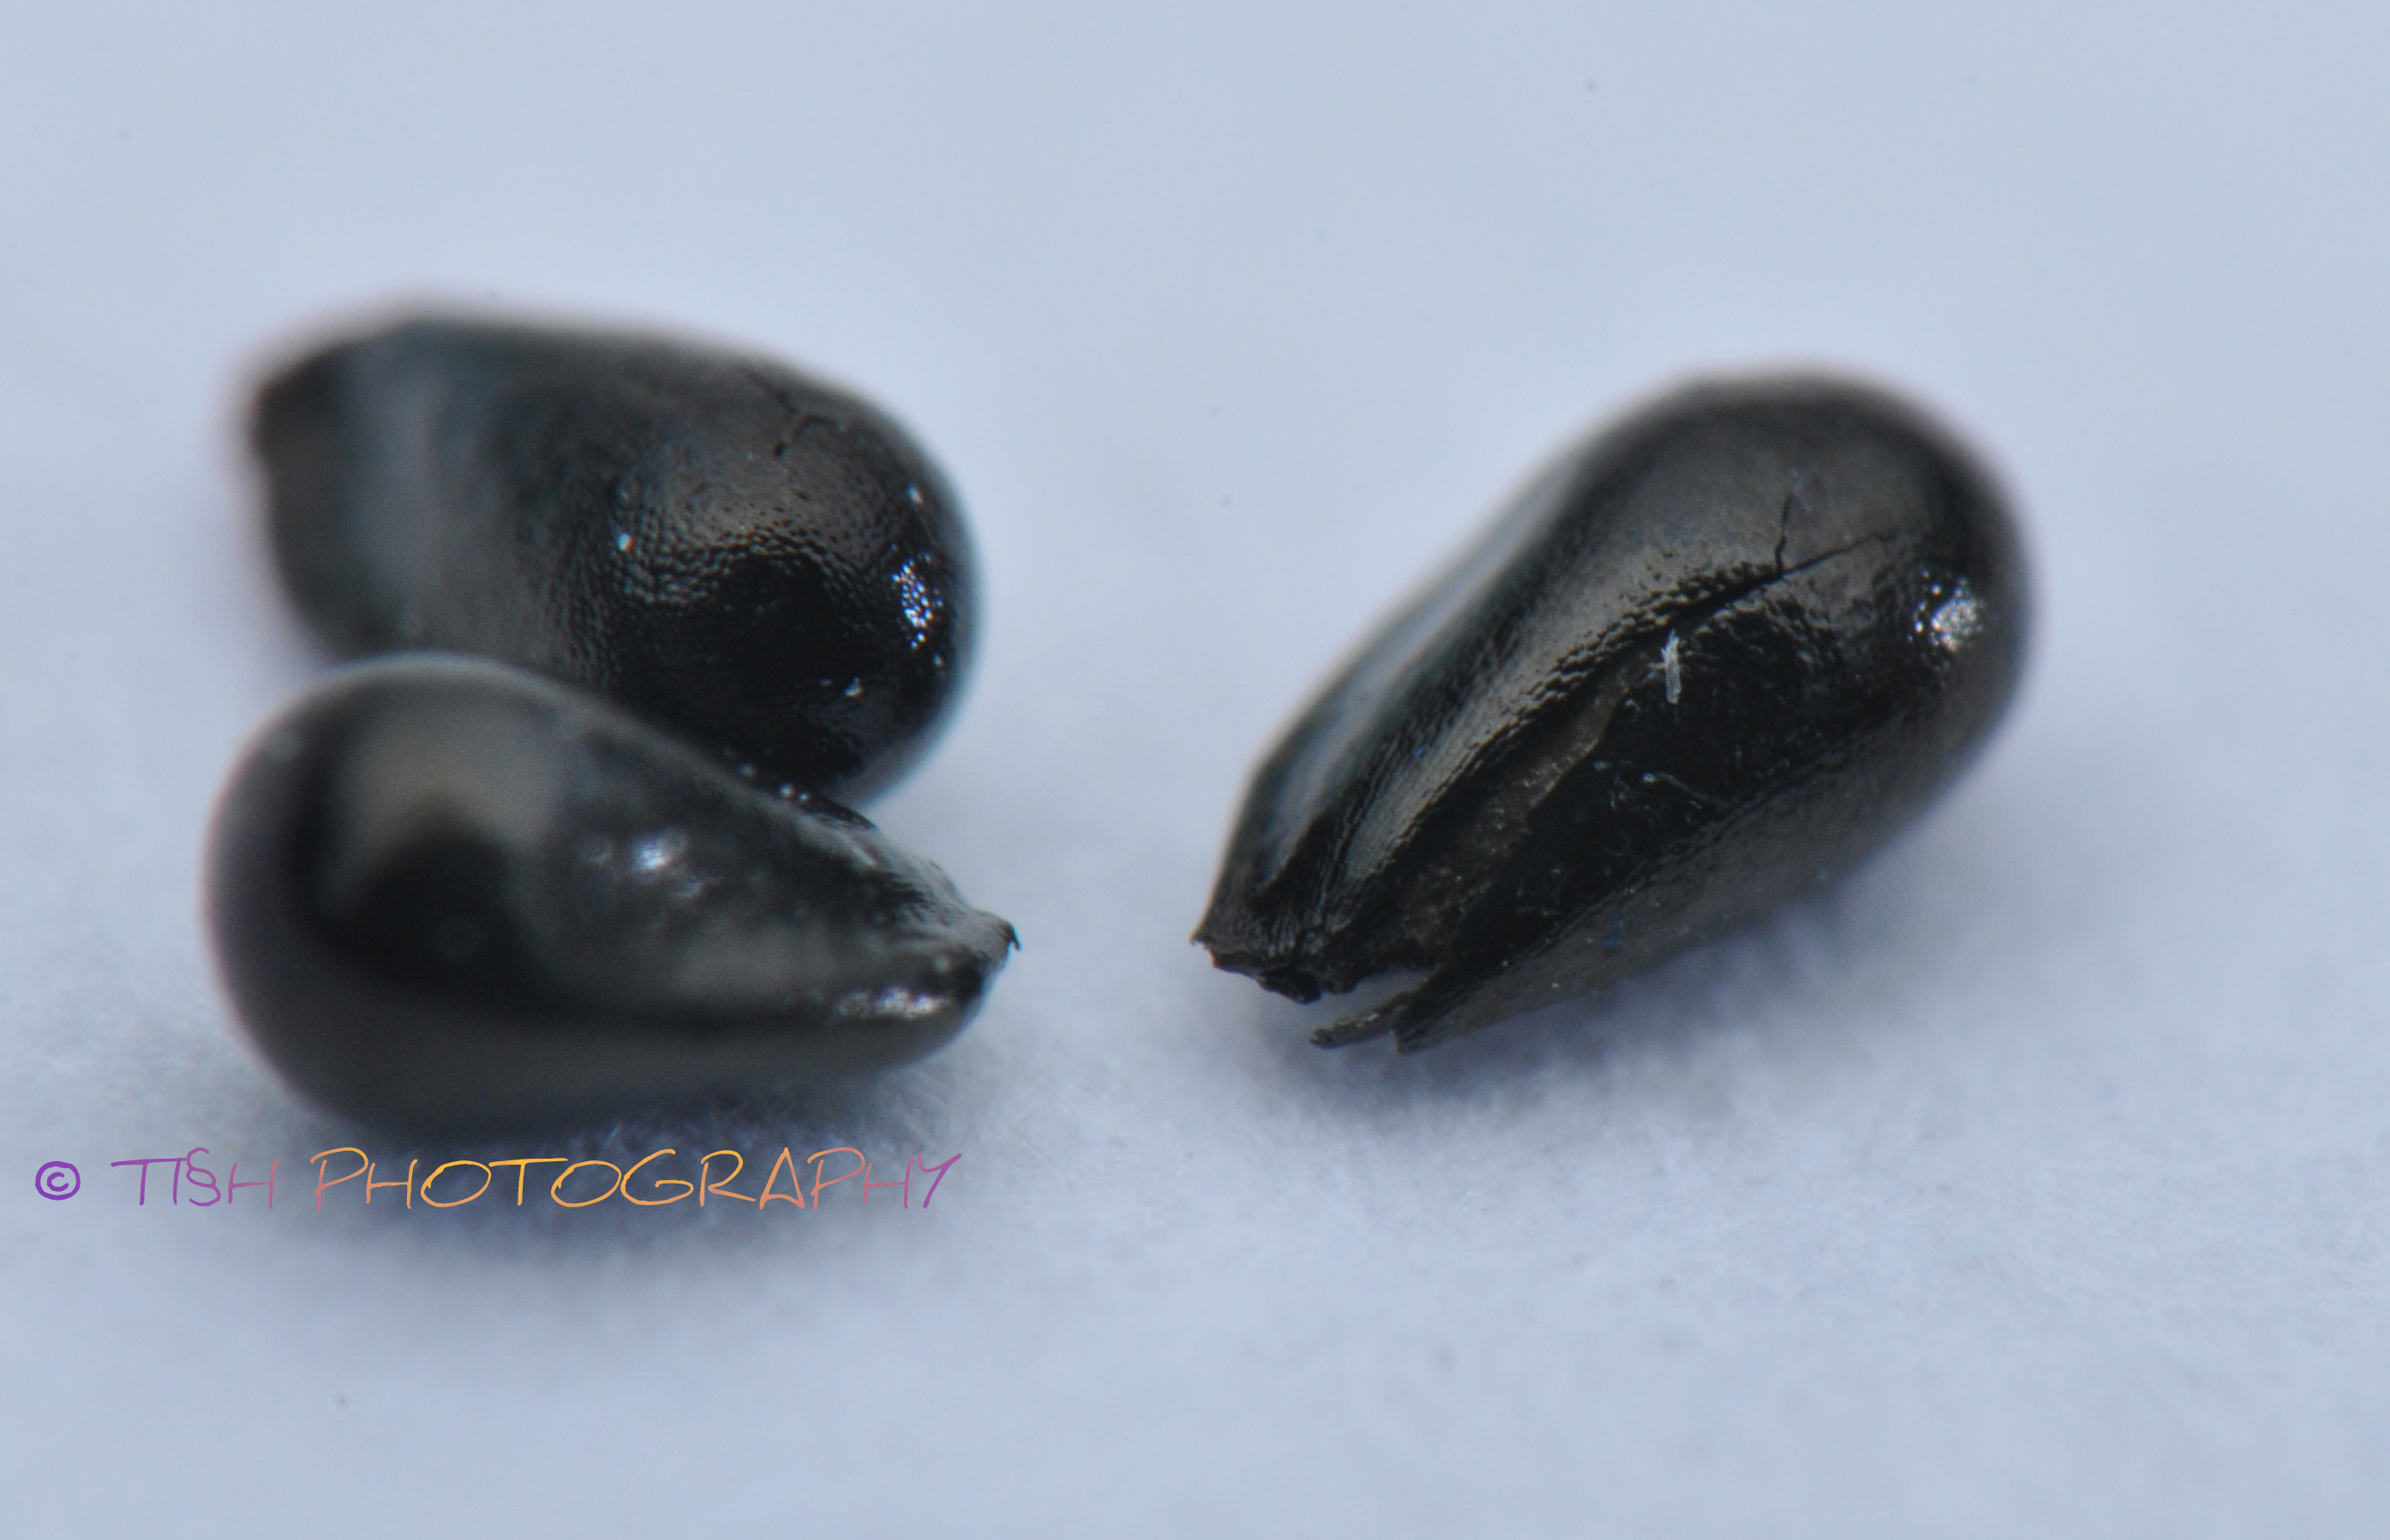
Since most of carnivorous plant seeds are very tiny(1mm),
do not handle them in windy place. Gently spread the seeds over the surface of the soil. If the pot is not very big (6cm diameter), sprinkle 15-20 seeds over the surface to prevent overcrowding. It will be hard to remove the seedlings in future and overcrowding will cause plants to fight for survival.
The Routine
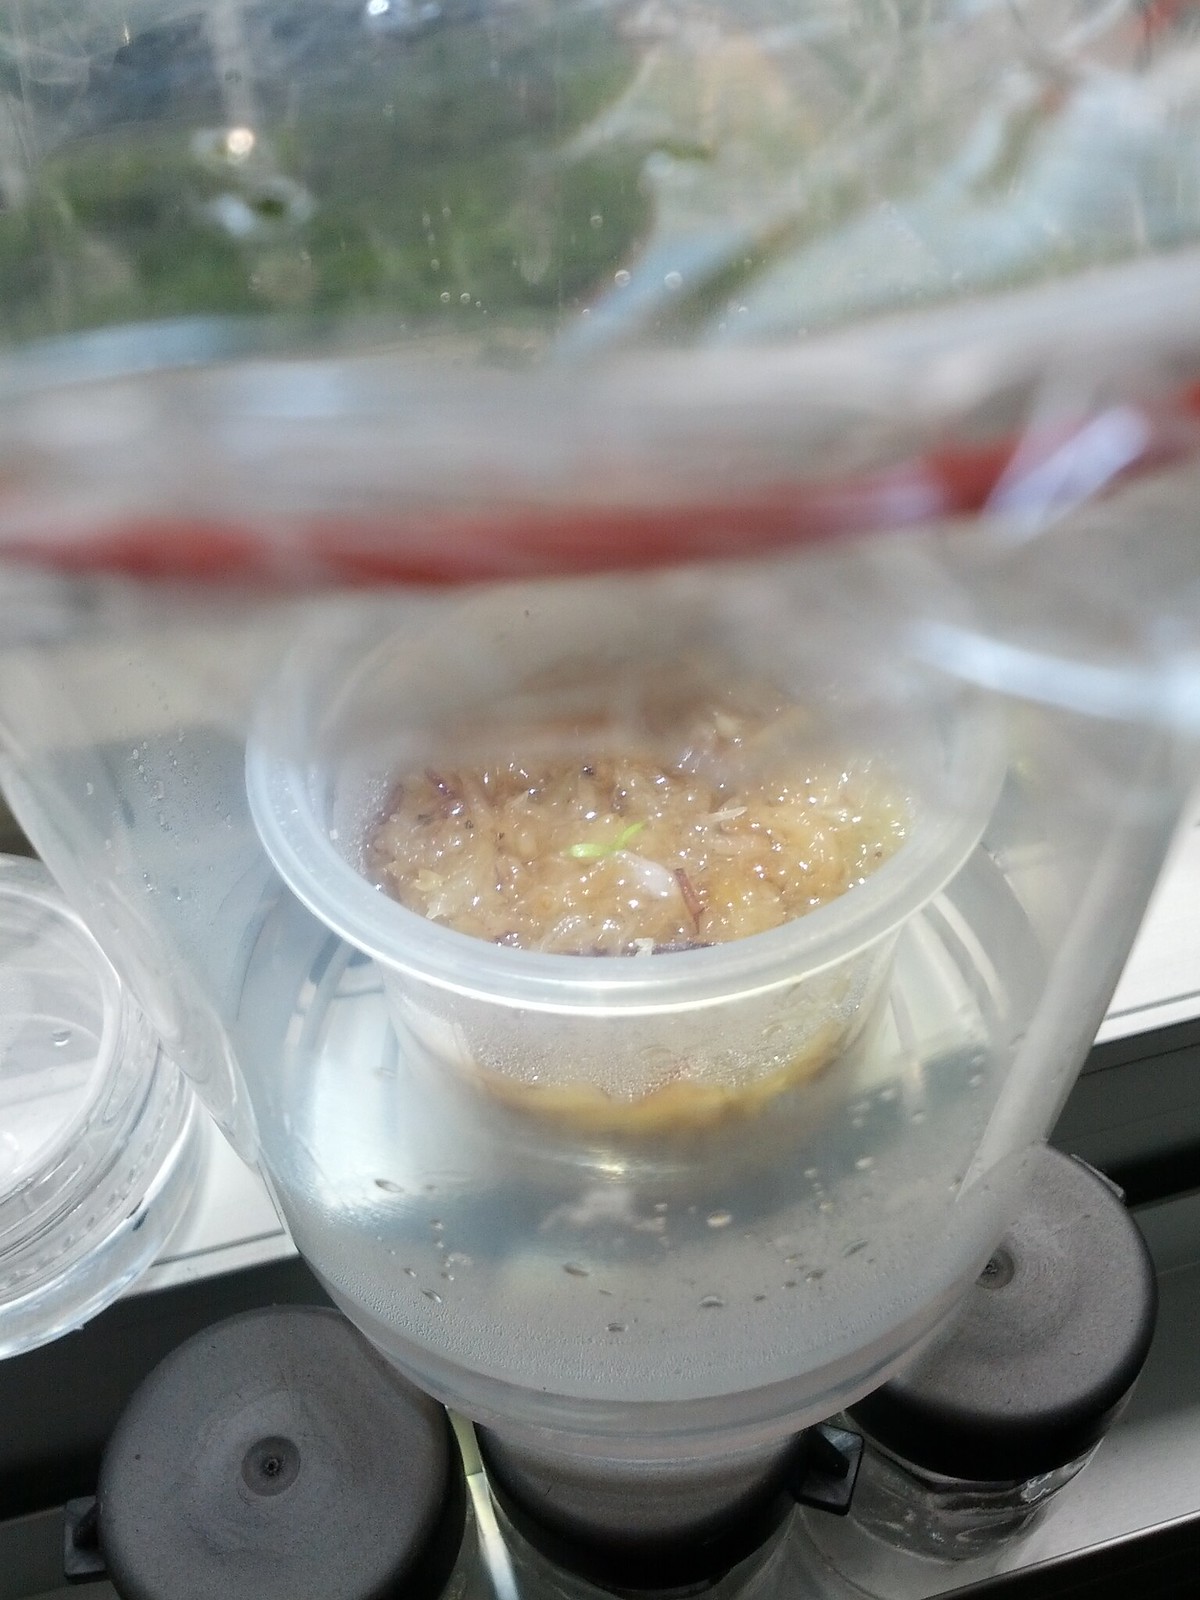
1. Watering:
From seeds to seedlings, it is ok to keep the soil slightly more moist than usual.
Do not top water as the seeds will be misplaced or drop into soil gaps. Always use water tray method (pot bottom wicking method). Fill a container with water (0.5cm height from bottom of pot) and let the pot absorb water for 10-15 minutes, then pour away the remainding water from the container to prevent over watering as too much water will cause algae and introduce moulding.
Monitor the soil condition. Make sure the soil surface is always moist, not almost dry and not always very wet. Dryness kill seedlings and wet will promoted algae/mould and invite small gants larvae to feed on roots/seedlings. Watering frequence will depend on how fast the soil dry.
Avoid direct rain as it is as good as top watering, the seeds will be misplaced.
***Do take note Pinguicula dislike wet soil. Water rot the leaves. So keep soil water condition between almost dry to dry.
2. Light:
Sun: Keep the pot away from direct sun if possible, morning sun is ok. Use a filter shade/cloth if you cannot avoid direct sun.
Artificial / indoor light:
Direct under lights is fine. Not closer than 6cm. At least 12 to 16 hours of photoperoid.
Note: Some seeds do not require light to germinate but temperature and water.
3. Temperature:
Keep the seeds between 20 - 40 Degrees Celsius. Some people add fan or use ice bottle in high temperature tanks
Note: Seeds germination rate depends on how fresh or what type of seeds they are. Ranging from 1 week to 2 months. If seeds has not germinate by then, please check if the seeds require stratification (cold treatment) or scarification (Smoke treatment), perhaps seeds are too old and not viable or then enviroment is no suitable.
Other Links
Some website which I find the guide very useful and informative:
- International Carnivorous Plants Society
- Growsundews.com
- Sarrcenia.com : The CP FAQ
Shortcut link to my guide page
bit.ly/TishGd1
Version 1.1
05 Dec 2015


 Trap triggered |
SEEDS SALE 2017 |
FACEBOOK |
Gallery |
Video channel |
Camera Gears |
Email me
Trap triggered |
SEEDS SALE 2017 |
FACEBOOK |
Gallery |
Video channel |
Camera Gears |
Email me


")